In order to switch to the request handling mode, press  and select Access Control.
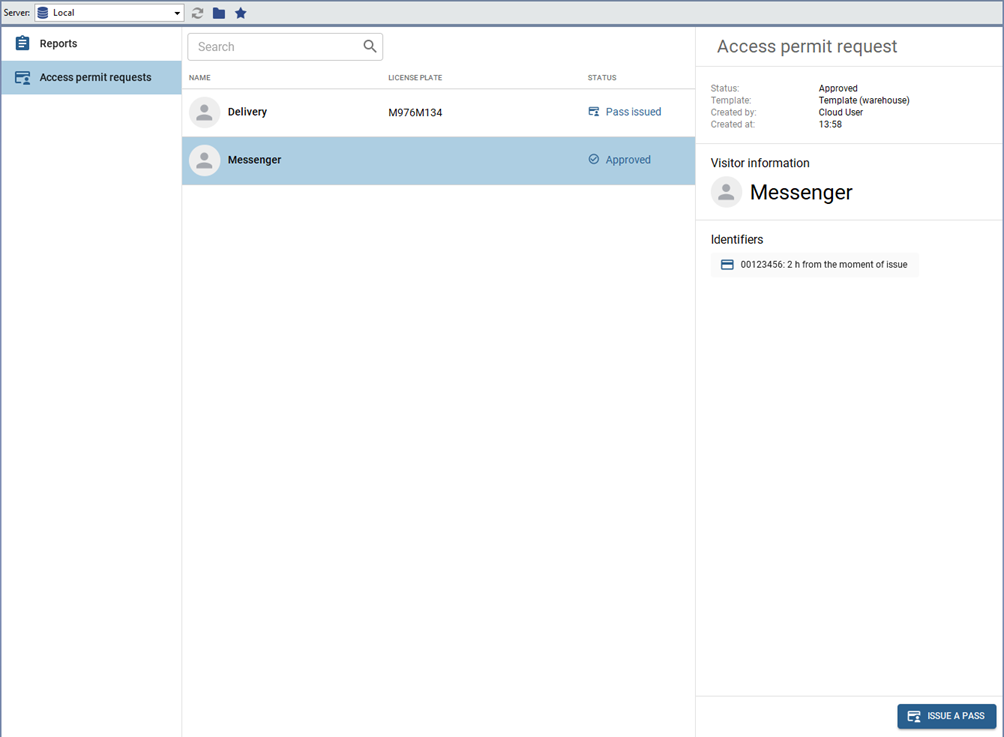
All temporary pass requests you've created will be displayed on the operator's screen. If you are the person who confirms the pass requests and issues them to the visitors, the list will show the pass requests created by other people.
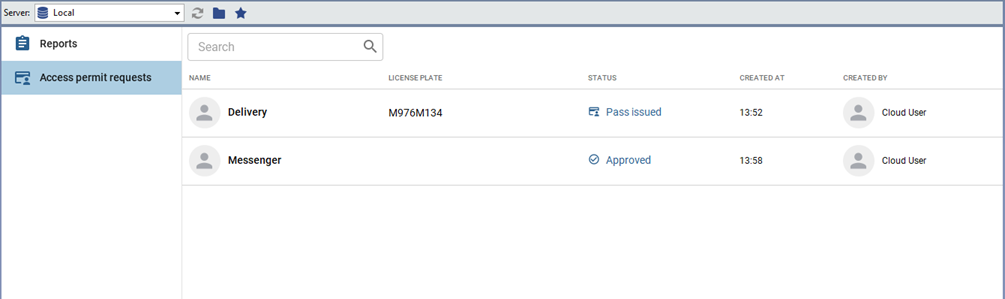
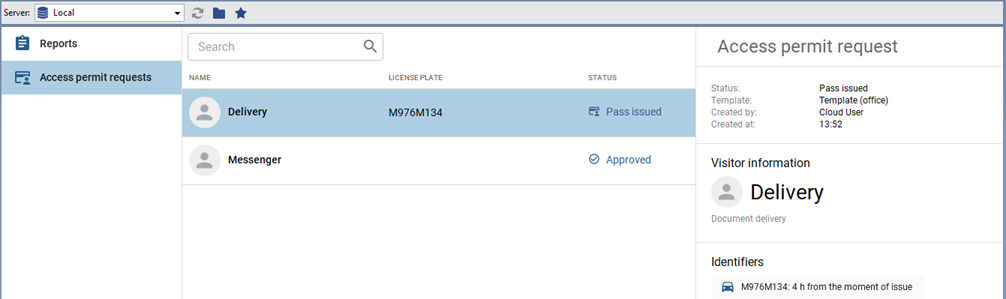
All requests that have the Pass issued status have been approved earlier or automatically.
The requests that have the Approved status should be confirmed. To do this, follow the steps below:
-
Click on the request. If the Identifier by which the visitor will be authenticated, is already added to the application, proceed to the next item. If it needs to be specified, press the button
 and add it.
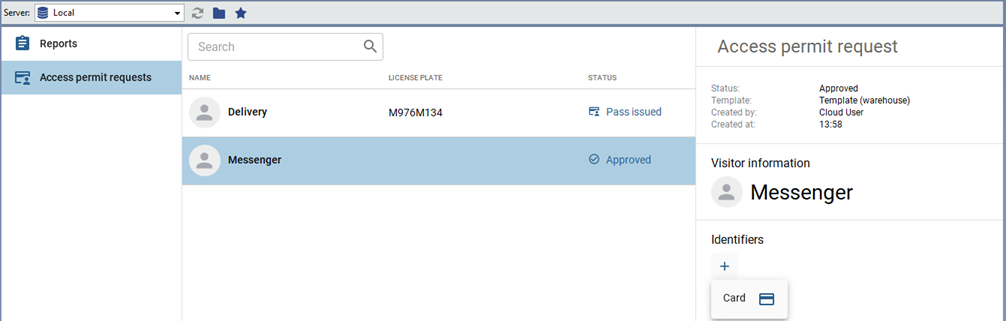
Table 96.
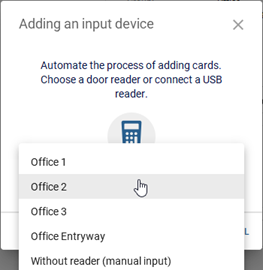
Select one of the ways of entering the ID card data:
- using USB reader connected to TRASSIR client/server;
- using the reader installed at the access point;
- by entering the card data into the input field manually.
Tip
Data input from an ID card using a USB reader is only supported in TRASSIR for Windows.
-
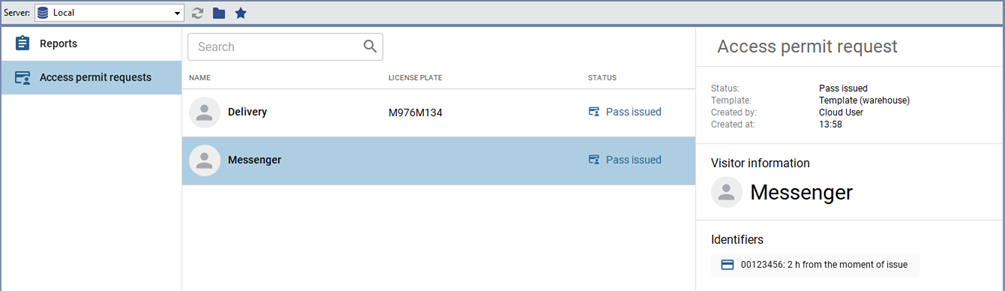
Press Issue a pass for confirmation.
-
The status of the request will change to Pass issued and the visitor can authenticate.
Tip
All passes have a certain validity period, which begins at the moment the pass is issued. When this time expires, the pass is archived.
The pass validity time is configured in the visitor template. Read more in the "Administrator's Guide" (see section Visitor templates).
