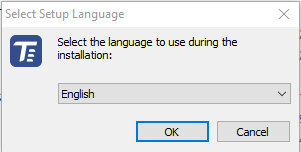
Run the executable file of TRASSIR-client installation, select language and press OK.
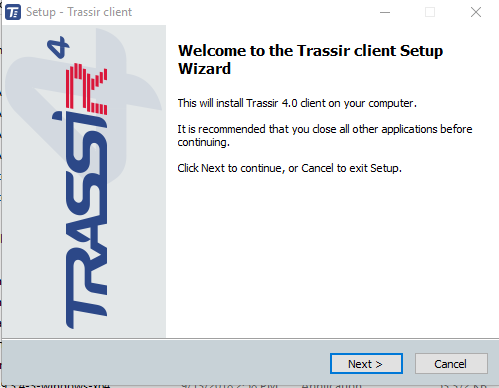
After a language is selected, the TRASSIR installer is started. Click Next.
You can review the text of the license agreement on the License agreement screen. After reviewing the agreement, select I accept the agreement and click Next.

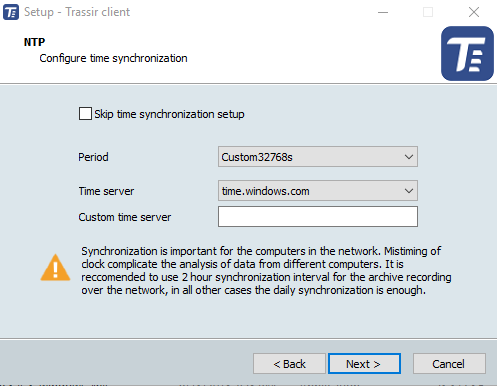
The TRASSIR installer will then prompt you to configure the time synchronization service (NTP). Select a synchronization Period and Time server. If needed, you can specify the address of an arbitrary NTP server or cancel the configuration of NTP by setting the Skip time synchronization setup checkbox. Click Next.
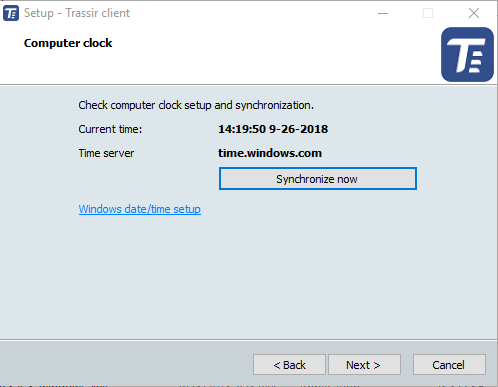
The TRASSIR installer will prompt you to verify the correctness of the server's current date and time. You can synchronize time using an NTP server by clicking the corresponding button or click the Windows date/time setup link to quickly navigate to the settings window. Click Next.
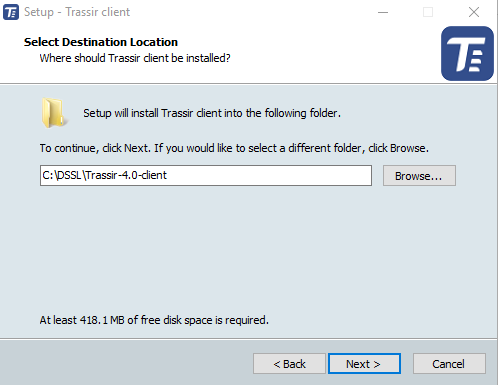
Specify the TRASSIR installation folder by manually entering the path or by using the Browse... button. Click Next.
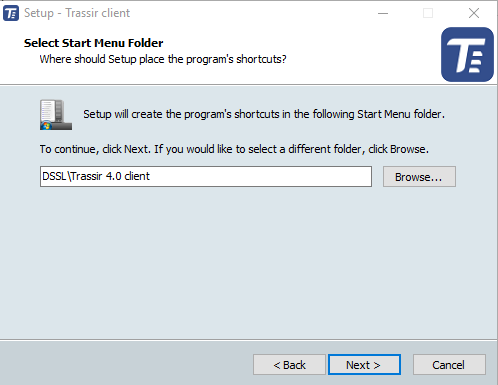
Specify the Start Menu folder where application shortcuts will be created. Click Next.
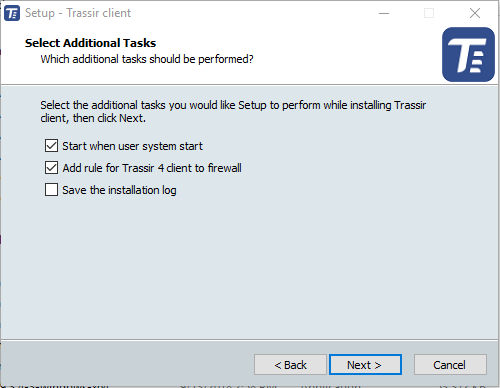
Select any additional installation settings. Automatically launching the application makes it possible to bring the system back in operation in the event of server hardware failures, for example, an unreliable supply of electricity to the site. If you plan to use the standard Windows Firewall, then set the Add rule for TRASSIR 3 Client to firewall checkbox. Click Next.
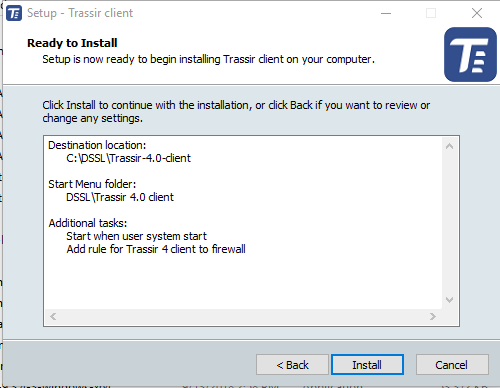
In its final screen, the TRASSIR installer will show the selected installation settings. Click Install.
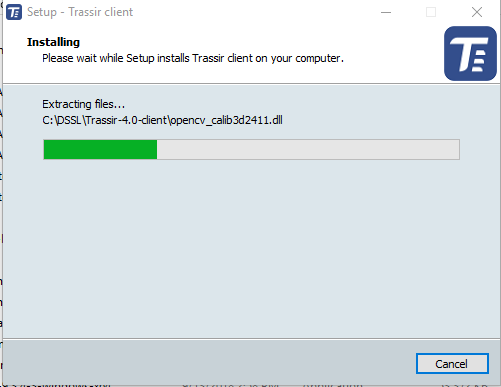
The files will begin to be copied.
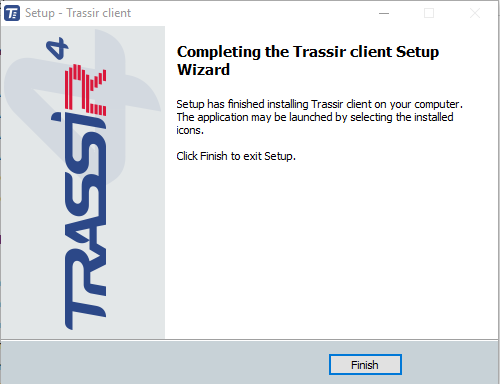
Complete the installation of TRASSIR by clicking Finish.