Volumes that were configured on the network storage when connecting in a Windows OS will be displayed as logical disks. In other words, all commands that apply to logical disks can be used when working with these disks.
Network storage connection procedure and settings in a Windows OS:
-
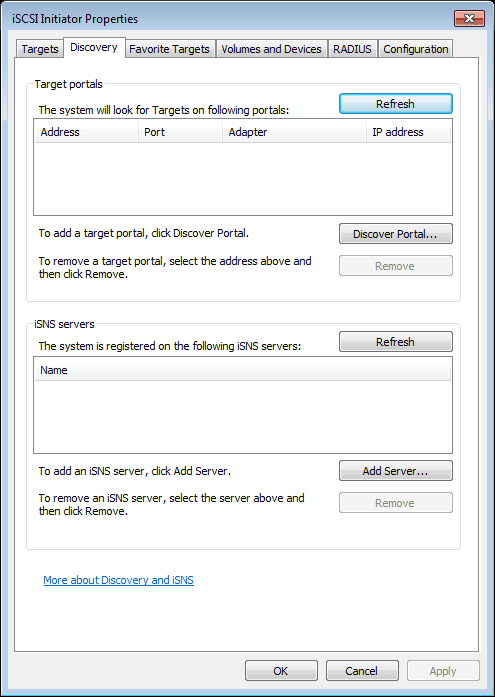
Open Start -> Control Panel -> Administration -> iSCSI Initiator
-
Go to the Discovery tab and click the Discover Portal... button to connect to the network storage
-
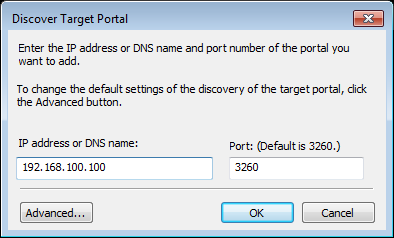
Enter the IP address of the network storage and specify the ISCSI service port that was entered during configuration of the network storage.
-
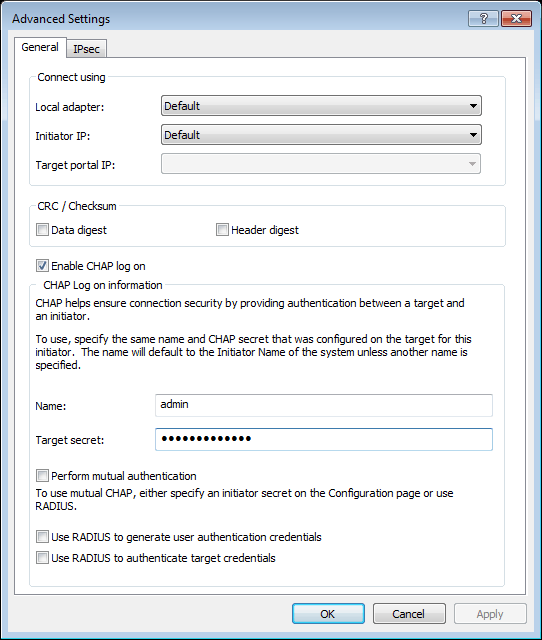
If you enabled CHAP authentication while configuring the network storage, click Advanced to enter the corresponding parameters.
-
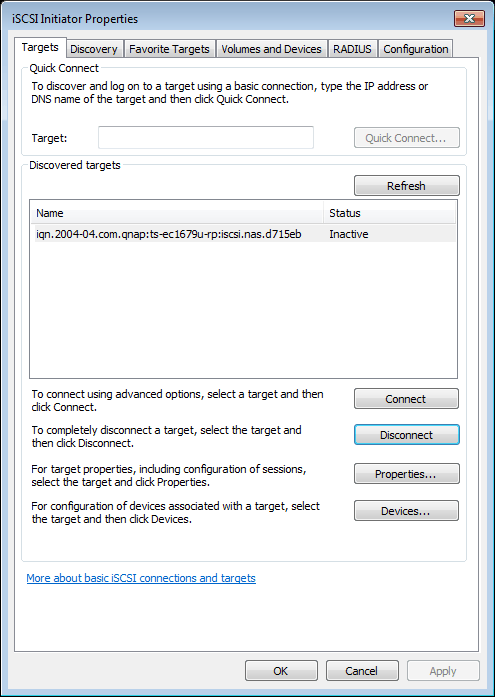
If there the network storage successfully connects, its identifier will appear in the Targets tab. And it's status will be "Inactive".
-
To start working with the network storage, it must be activated. To do this, select it in the list and click the Connect button. The network storage's status will change to "Connected".
If all of these steps were successful, the new disk will appear in the OS. To locate it, open Computer -> Manage -> Disk Management
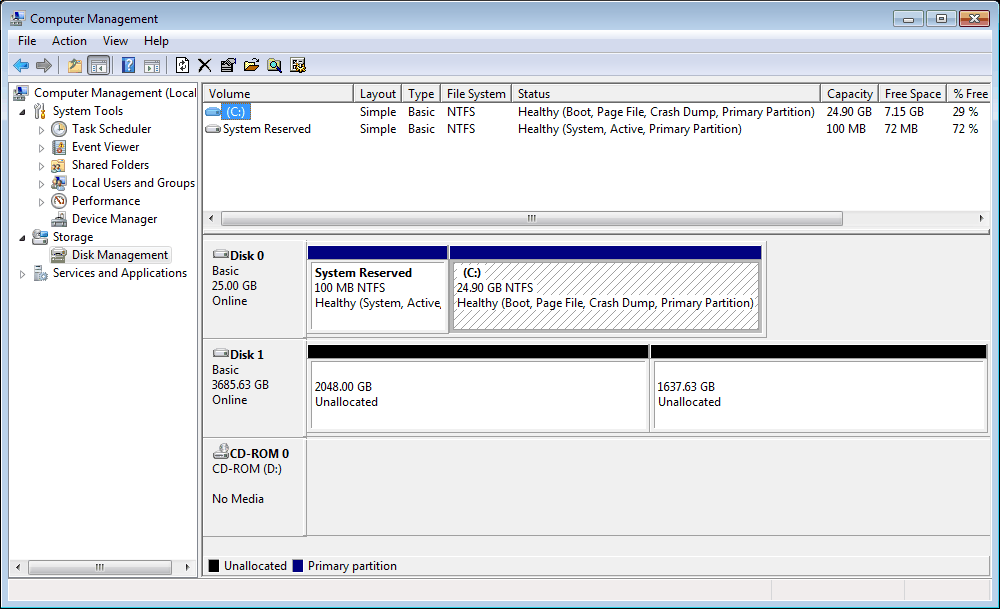
Warning
Format disk before using it in TRASSIR. Please remember that all logical disks whereon the archive is going to be recorded should be of similar capacity and their capacity should not in any way differ 2 times or more in their size.
