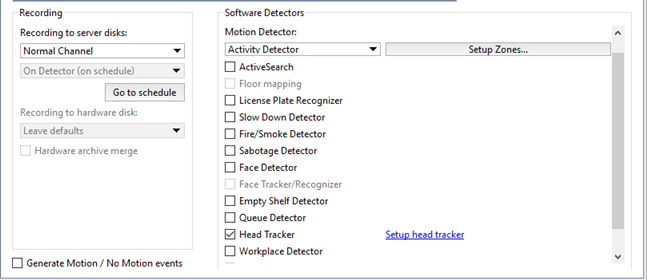
To activate the plugin go to the Channel settings to the Software detectors area and select Head Tracker. Click the Setup head tracker link to open the settings window.
![]()
Set up the module:
-
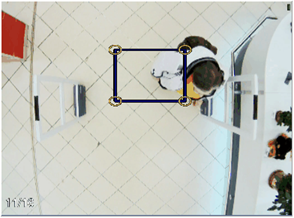
Change the size of a rectangle so that an average sized person would fit in.

Tip
You can define the maximum size of the object by the value in the Object size settings. In case they exceed the allowed valued you should change the settings or camera location.
-
Then in the Detection algorithm settings select Standard and by dragging the Sensitivity slider set the best settings value.
Table 80.
Low Optimal High Object can not be detected in the frame. Object is detected correctly. One object is detected as 2 or more. 


Tip
If the optimal result fails to appear under the given parameters, select an alternative detection method and repeat the settings.
-
Other parameters help to enhance the module operation:
-
Operation resolution settings lets you select the size of the image which will be used to analyze the scene. Low resolution image analysis is the most cost-effective way to use the server resources
-
Distance to the floor - this parameter depends on the camera height and the zoom level set on it. It can be identified by the size of the object in picture. The bigger it is the less is the distance to the floor. (less than 14,5% is high, from 14,5% to 18,5% is average and over 18,5% is small) Leave Auto box checked and it will set up with reference to the Object size field value.
-
-
Locate the border line to be crossed by people. To do this press the button
 and, sequentially clicking with the left mouse button, specify the vertices. If necessary, you can enter the boundary name
and set the Swap AB -> BA checkbox in order to switch the A and B zones.
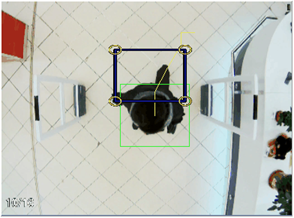
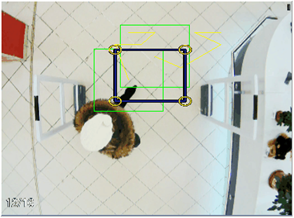
If the module has been set up correctly, the captured in the frame people will be outlined with a green rectangle.
![]()
Tip
To track the module's state in a timely fashion, you can create a rule or script that will activate when the state changes.

