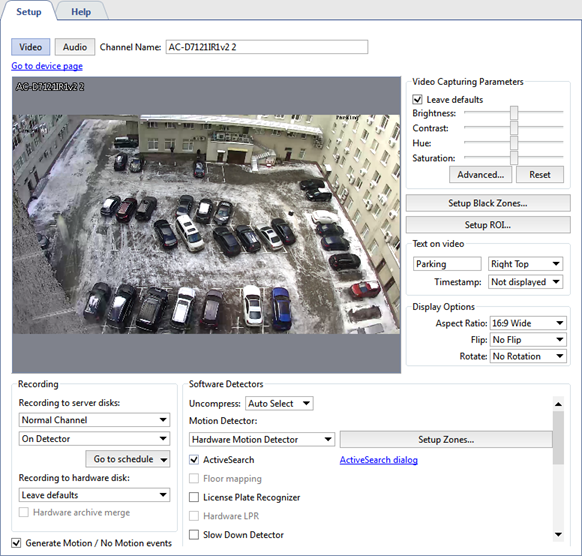
The Channel settings tab lets you change the channel name, control the recording mode, and configure video analysis. It also lets you configure the audio channel.
To configure the audio channel, click the Audio button.
Clicking on Go to device settings will take you to the settings tab of the device to which the channel directly belongs.
The Channel settings window is divided into several areas:
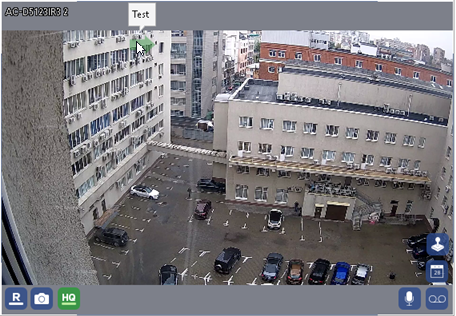
- The central part of the window has a real-time picture and you can control the camera just as you would in operator mode (for example, by using a camera's PTZ mechanism).
- Recording
- Video Capturing Parameters
- Setup black zones
- Text on video (watermarks)
- Display options
- Software Detectors
You can read more about the settings in each of these areas in the corresponding sections of the manual.
If the Generate motion / No Motion events checkbox is set, each time motion is detected a new event will be written to the database. It may be necessary to disable this feature to reduce the load on the database.
Tip
All the settings are applied "on-the-fly", and you can see all the changes in real-time.
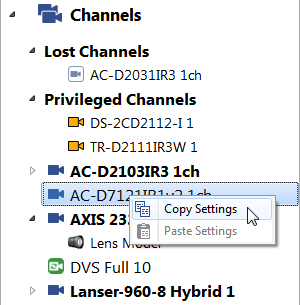
After configuring a channel, you can copy it settings to a different channel. To do this, right-click with the mouse on the desired channel and select Copy Settings. To apply the copied settings to a different channel, bring up the context menu for the desired channel and select Paste Settings.
Adding labels
To analyze the scene in the camera image an operator may need to know what is placed on the given shelf, where does this door lead, etc. With the help of labels you can add all this information right on the image. Moreover, the label contents will display mouseover only. You can also adjust the label's transparency , so it won't cover the image.
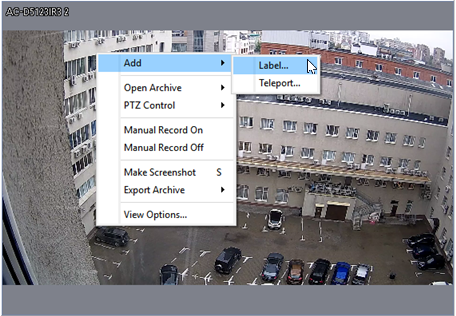
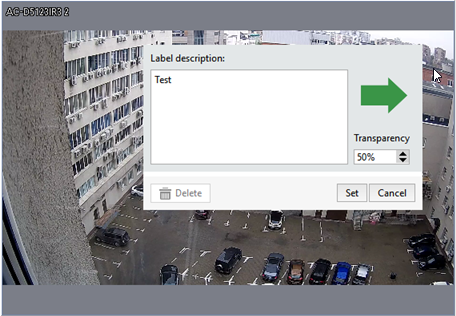
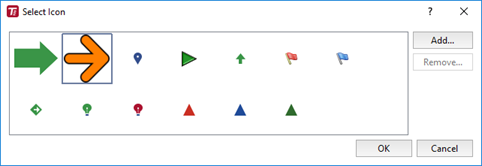
To add a label, right click on the image and select Add -> Label.... In the opened window select the label's icon, adjust transparency, and enter text that will be displayed upon mouseover.
Place the label as you need. To do this, left click on the label and drag it. Right click will open label editor window.
Tip
You can select the label's icon or upload your image as an icon. To do this, press Add and select the image.
Creation of teleports from camera to camera
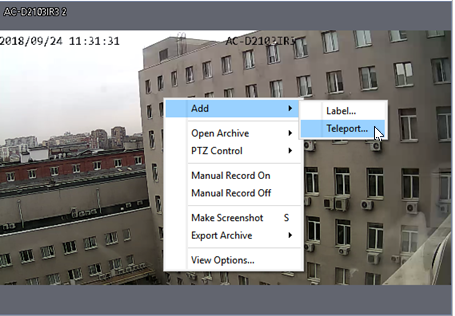
In operator's mode, to switch quickly between channels, you can use a teleport. To add a teleport, right click on the image and select Add -> Teleport... in the context menu.
In the window that opens, select the name of the channel that should open when the teleport button  on the video frame is pressed.
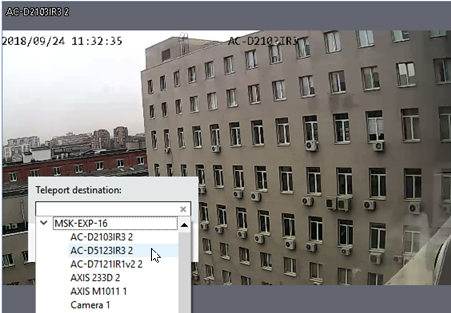
If needed, move the teleport icon to the desired location. To do this, click and drag it.
You can read more about using of TV ports, see the "Operator's manual" (Using teleports when viewing the archive).
Adding multiple audio sources to a channel
In case there are several devices, recording both video- and audiostreams in one room installed, TRASSIR lets switch between these devices' audiostreams, without switching the channels.
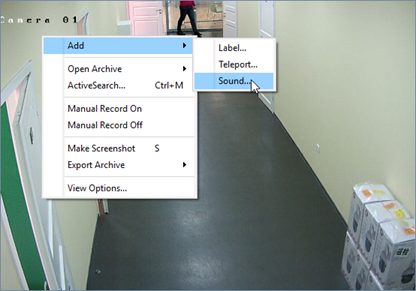
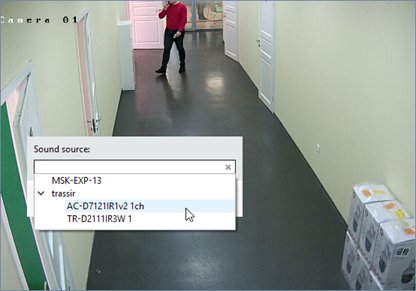
To add an audio switch icon to a channel, choose in the right click menu Add -> Audio. In the opened window choose the channel the audiostream of which should be added.
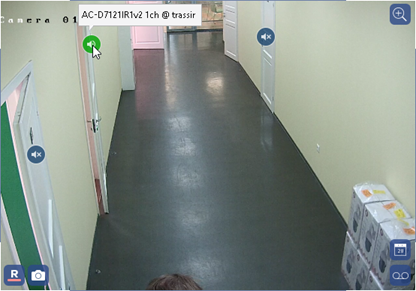
After that an icon will appear on the video preview. Click the icon to turn on the channel audio stream. You can move to any place on the preview. To do this, left click and drag the icon.
The color of the icon indicates the status of the audio stream:
 - sound is on.
 - sound is off.
 - the connection to the audio source is lost.
Tip
Make sure that the flag Audio is checked in the device settings in order for the device to appear in the list of the available audio sources. Read more in Configuring device settings.
